1. Check the words before you print
Read the letter yourself first. Check the child’s name and the details they will recognise, such as a pet, a favourite activity or something they worked hard to learn. Remove any promise of a gift you cannot guarantee.
With Elf Mailroom, the letter is a digital PDF for you to download and print. The envelope, printing and little delivery ritual are yours to arrange; a physical letter is not sent through the post.
2. Choose paper and print one test page
Ordinary printer paper works well. For a more substantial feel, try warm-white paper around 100–120 gsm only if your printer supports that weight and type. Check its paper guidance before buying a pack.
Select the paper size that matches your PDF and look at the print preview. Try actual size first; if the border falls outside the printable area, use “Fit” or “Fit to printable area”. Print one test sheet before choosing a higher-quality colour setting.
3. Give the envelope a little North Pole character
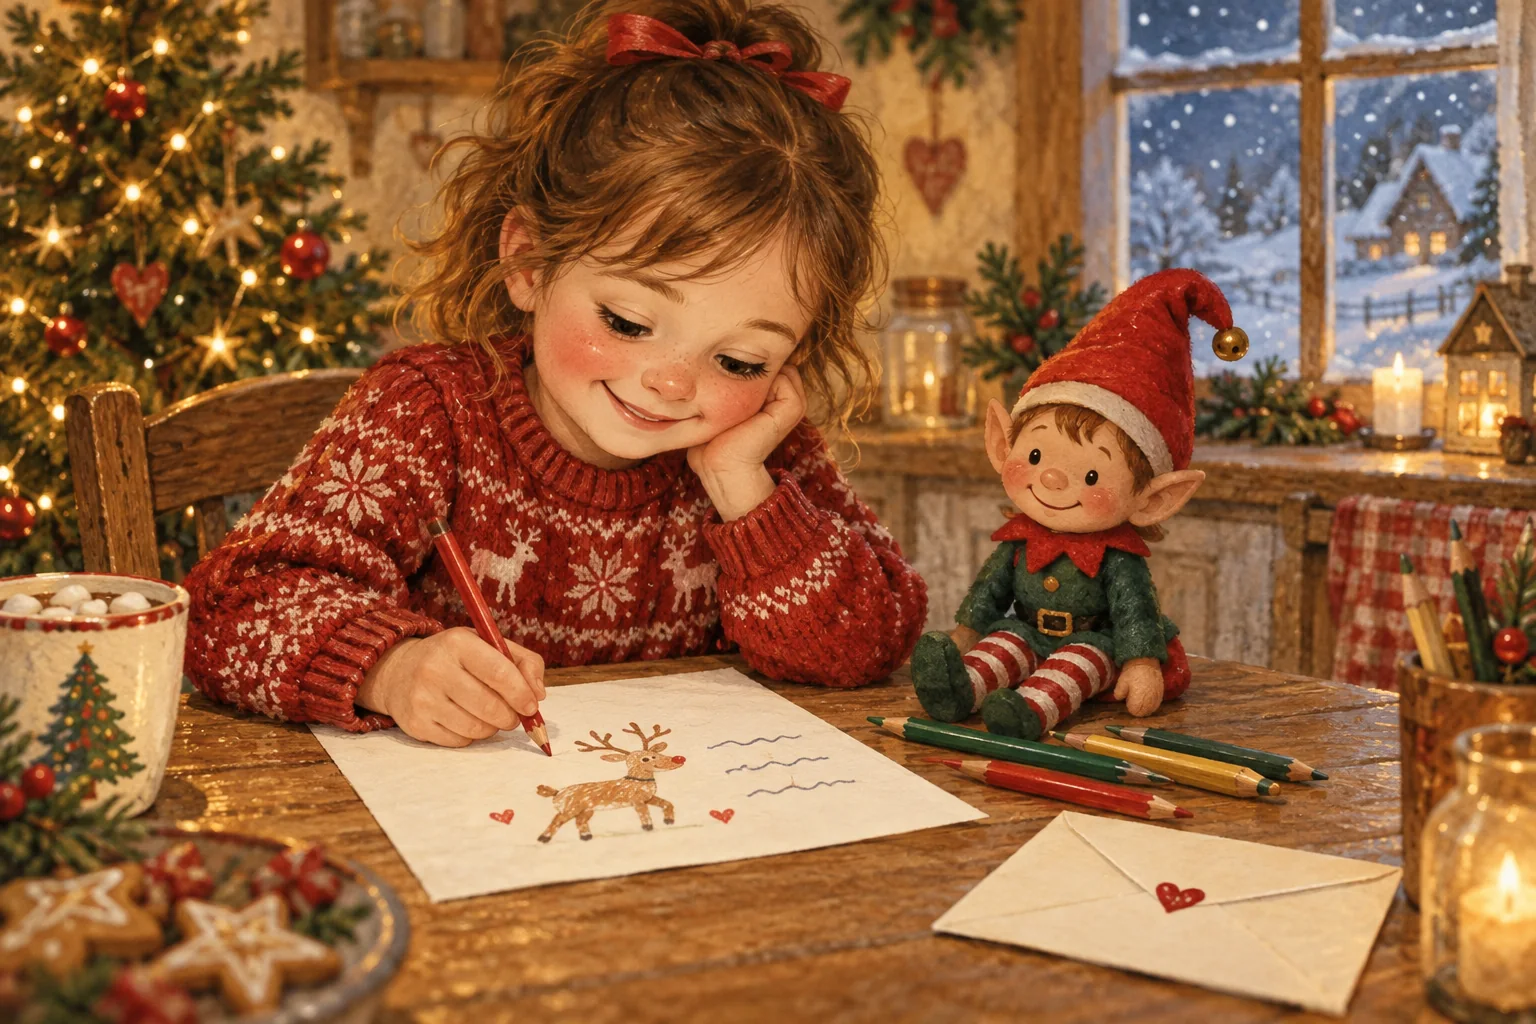
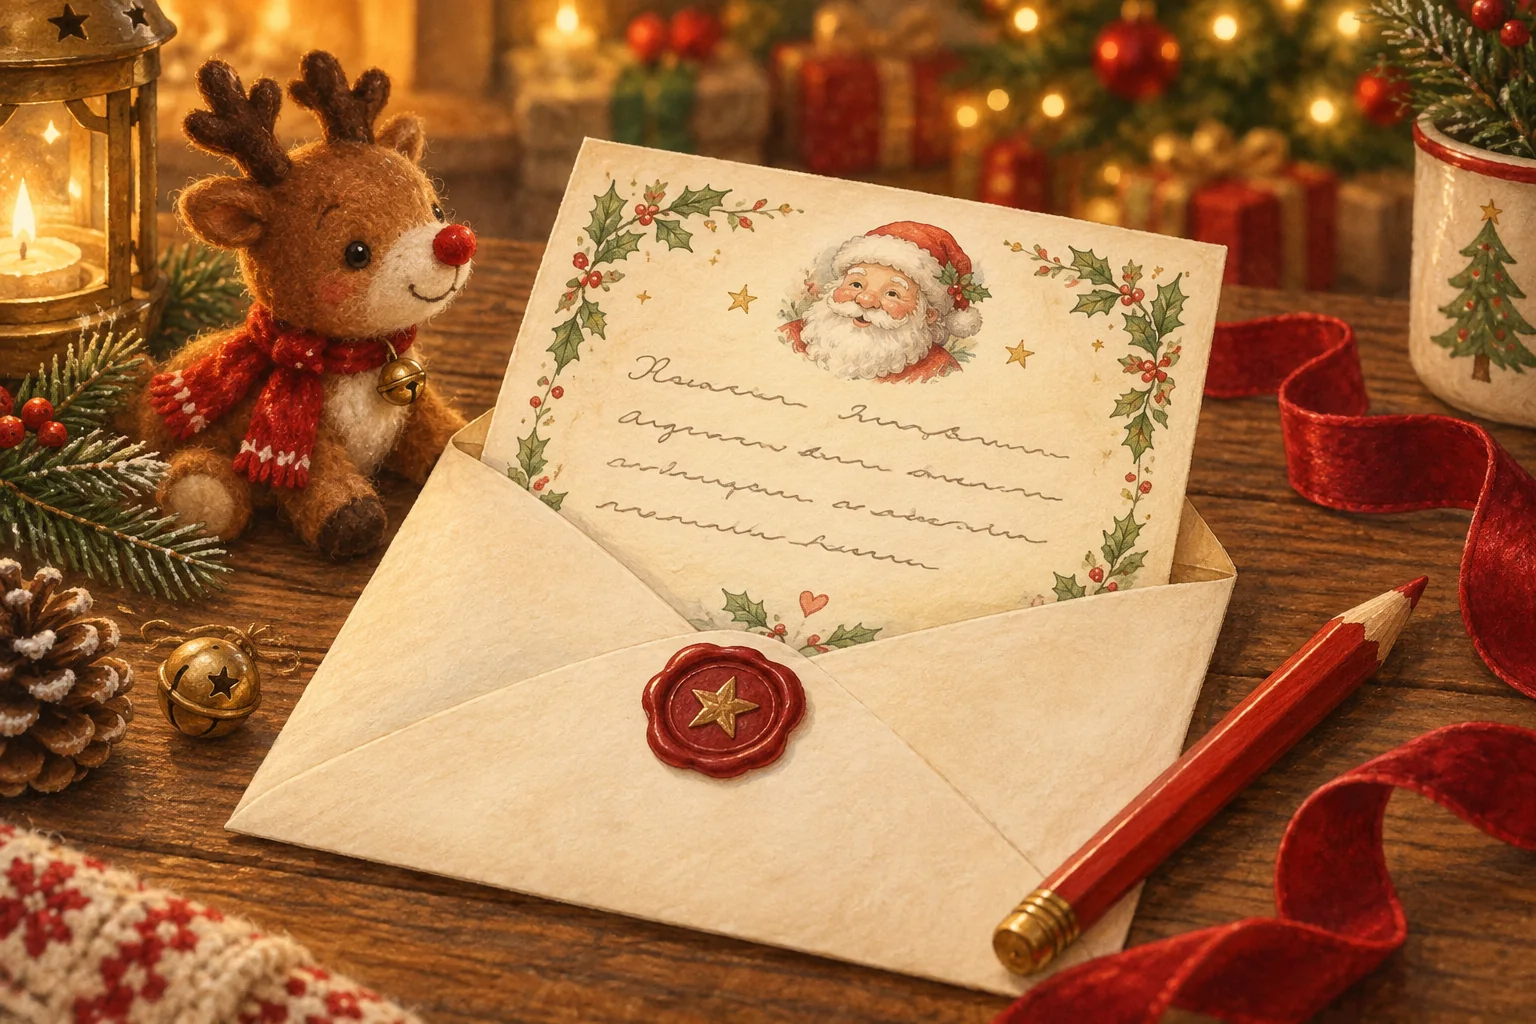
Write the child’s first name by hand and add “North Pole Post” or a drawn stamp. A paper star drawn in the corner gives you a festive touch without loose glitter or extra props.
Add a short message on the back flap. One tiny detail is enough to invite a story about the journey.
4. Choose a calm moment for the delivery
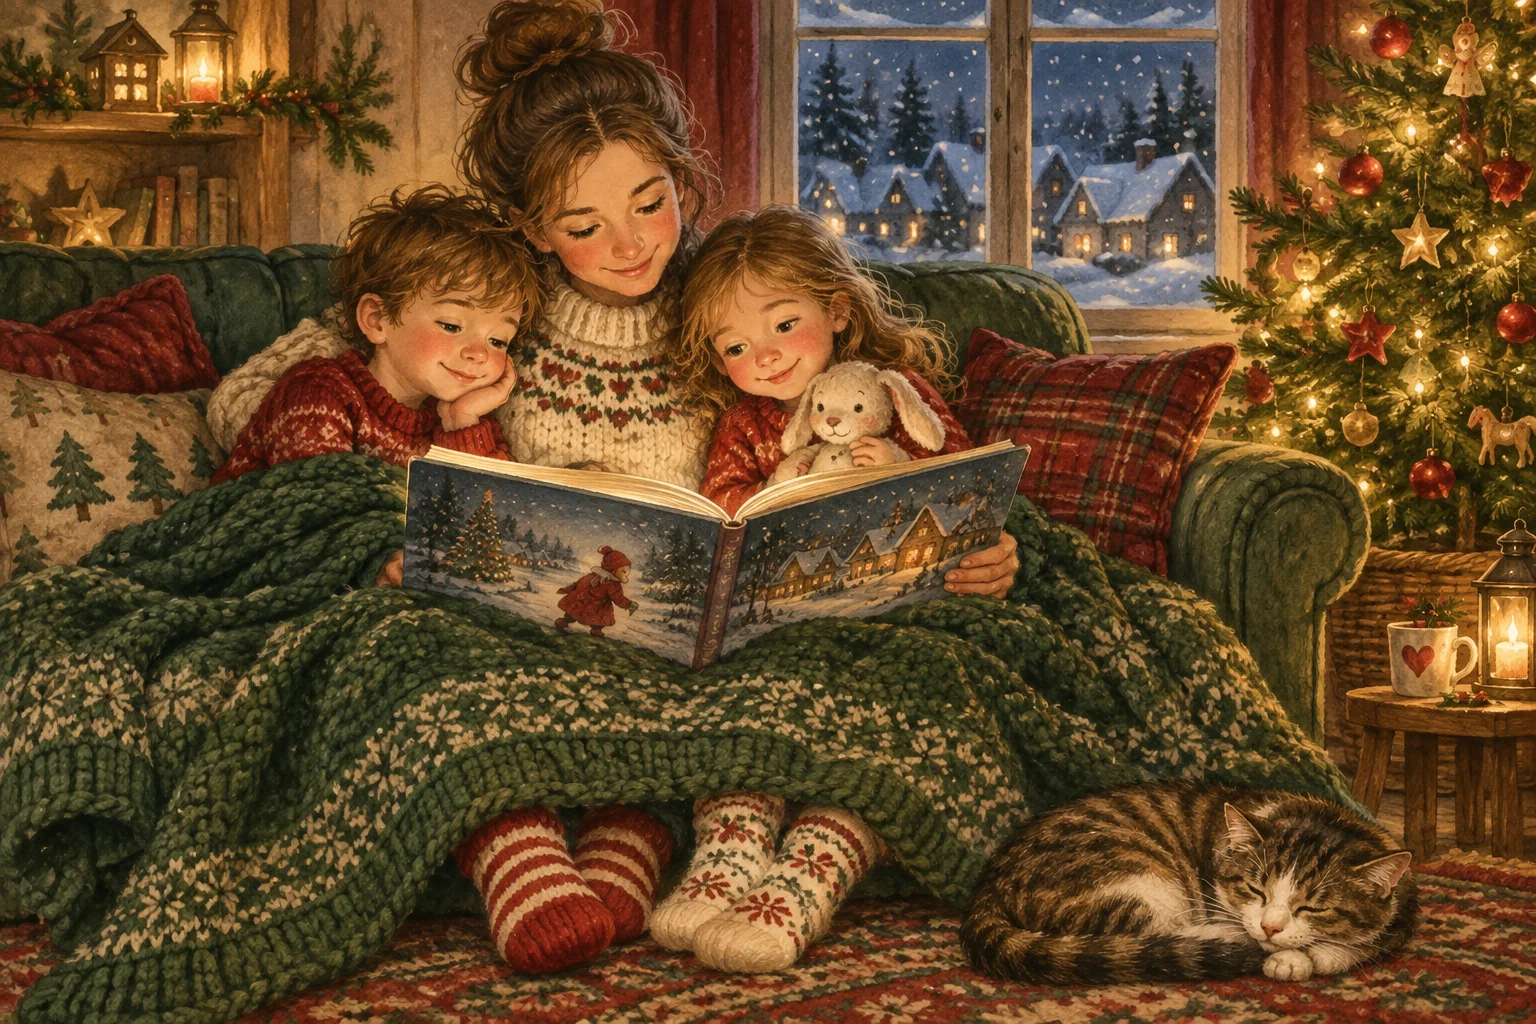
Place the envelope beside the tree, with a Christmas book or at the breakfast table. Pick a time when your child can enjoy opening it without needing to rush out of the house.
If surprises make them uneasy, tell them a special letter is waiting and let them decide when to open it. For siblings, prepare a personal detail for each child without comparing their achievements.
5. Read together and save the memory
Let your child open the envelope and choose whether to read it alone or with you. Pause at the detail they recognise and follow their questions. There is no need to stage a perfect reaction or take a photograph.
Write the date on the back afterwards and keep the letter flat in a folder or memory box. Save the original PDF too, so you can print another copy if this one gets loved a little too much.
Frequently asked questions
What paper should I use for a printable Santa letter?
Normal printer paper is enough. Warm-white paper around 100–120 gsm can feel more substantial, but check that your printer supports the paper’s weight and finish before using it.
Why are the edges of my Santa letter being cut off?
The design may extend beyond your printer’s printable area, or the selected paper size may be wrong. Check the size and preview, then try “Fit to printable area” and print a test page.
Can I print a Santa letter without a colour printer?
Yes. Preview the PDF in greyscale and print a test sheet to check that the text and illustrations remain clear. A hand-drawn envelope can add colour afterwards.
How can I present a Santa letter without glitter or mess?
Write a North Pole message on the envelope, draw a small star and leave the letter beside the tree or a favourite book. A personal detail in the letter provides the main surprise.